
| Day | Date | Time | Title |
|---|---|---|---|
| 1 | 2026-03-20 | 09:30 - 10:00 | Welcome & Introduction |
| 1 | 2026-03-20 | 10:00 - 10:30 | Quarto: Introduction |
| 1 | 2026-03-20 | 10:30 - 10:45 | Quarto: Presentations |
| 1 | 2026-03-20 | 10:45 - 11:00 | Git: Setup & Configuration |
| 1 | 2026-03-20 | 11:00 - 11:15 | Command Line |
| 1 | 2026-03-20 | 11:15 - 12:00 | Git: Basics |
| 1 | 2026-03-20 | 12:00 - 13:00 | Lunch Break |
| 1 | 2026-03-20 | 13:00 - 14:00 | Git: Remotes |
| 1 | 2026-03-20 | 14:00 - 15:00 | Git: Collaboration |
| 1 | 2026-03-20 | 15:00 - 15:30 | Quarto: Publication to GitHub Pages |
| 1 | 2026-03-20 | 15:30 - 16:00 | Git: Tags & Releases |
Quarto: Introduction
FAIR & Reproducible Teaching with Quarto & Git
Course at University of Hamburg
Slides | Source
![]()
10:00
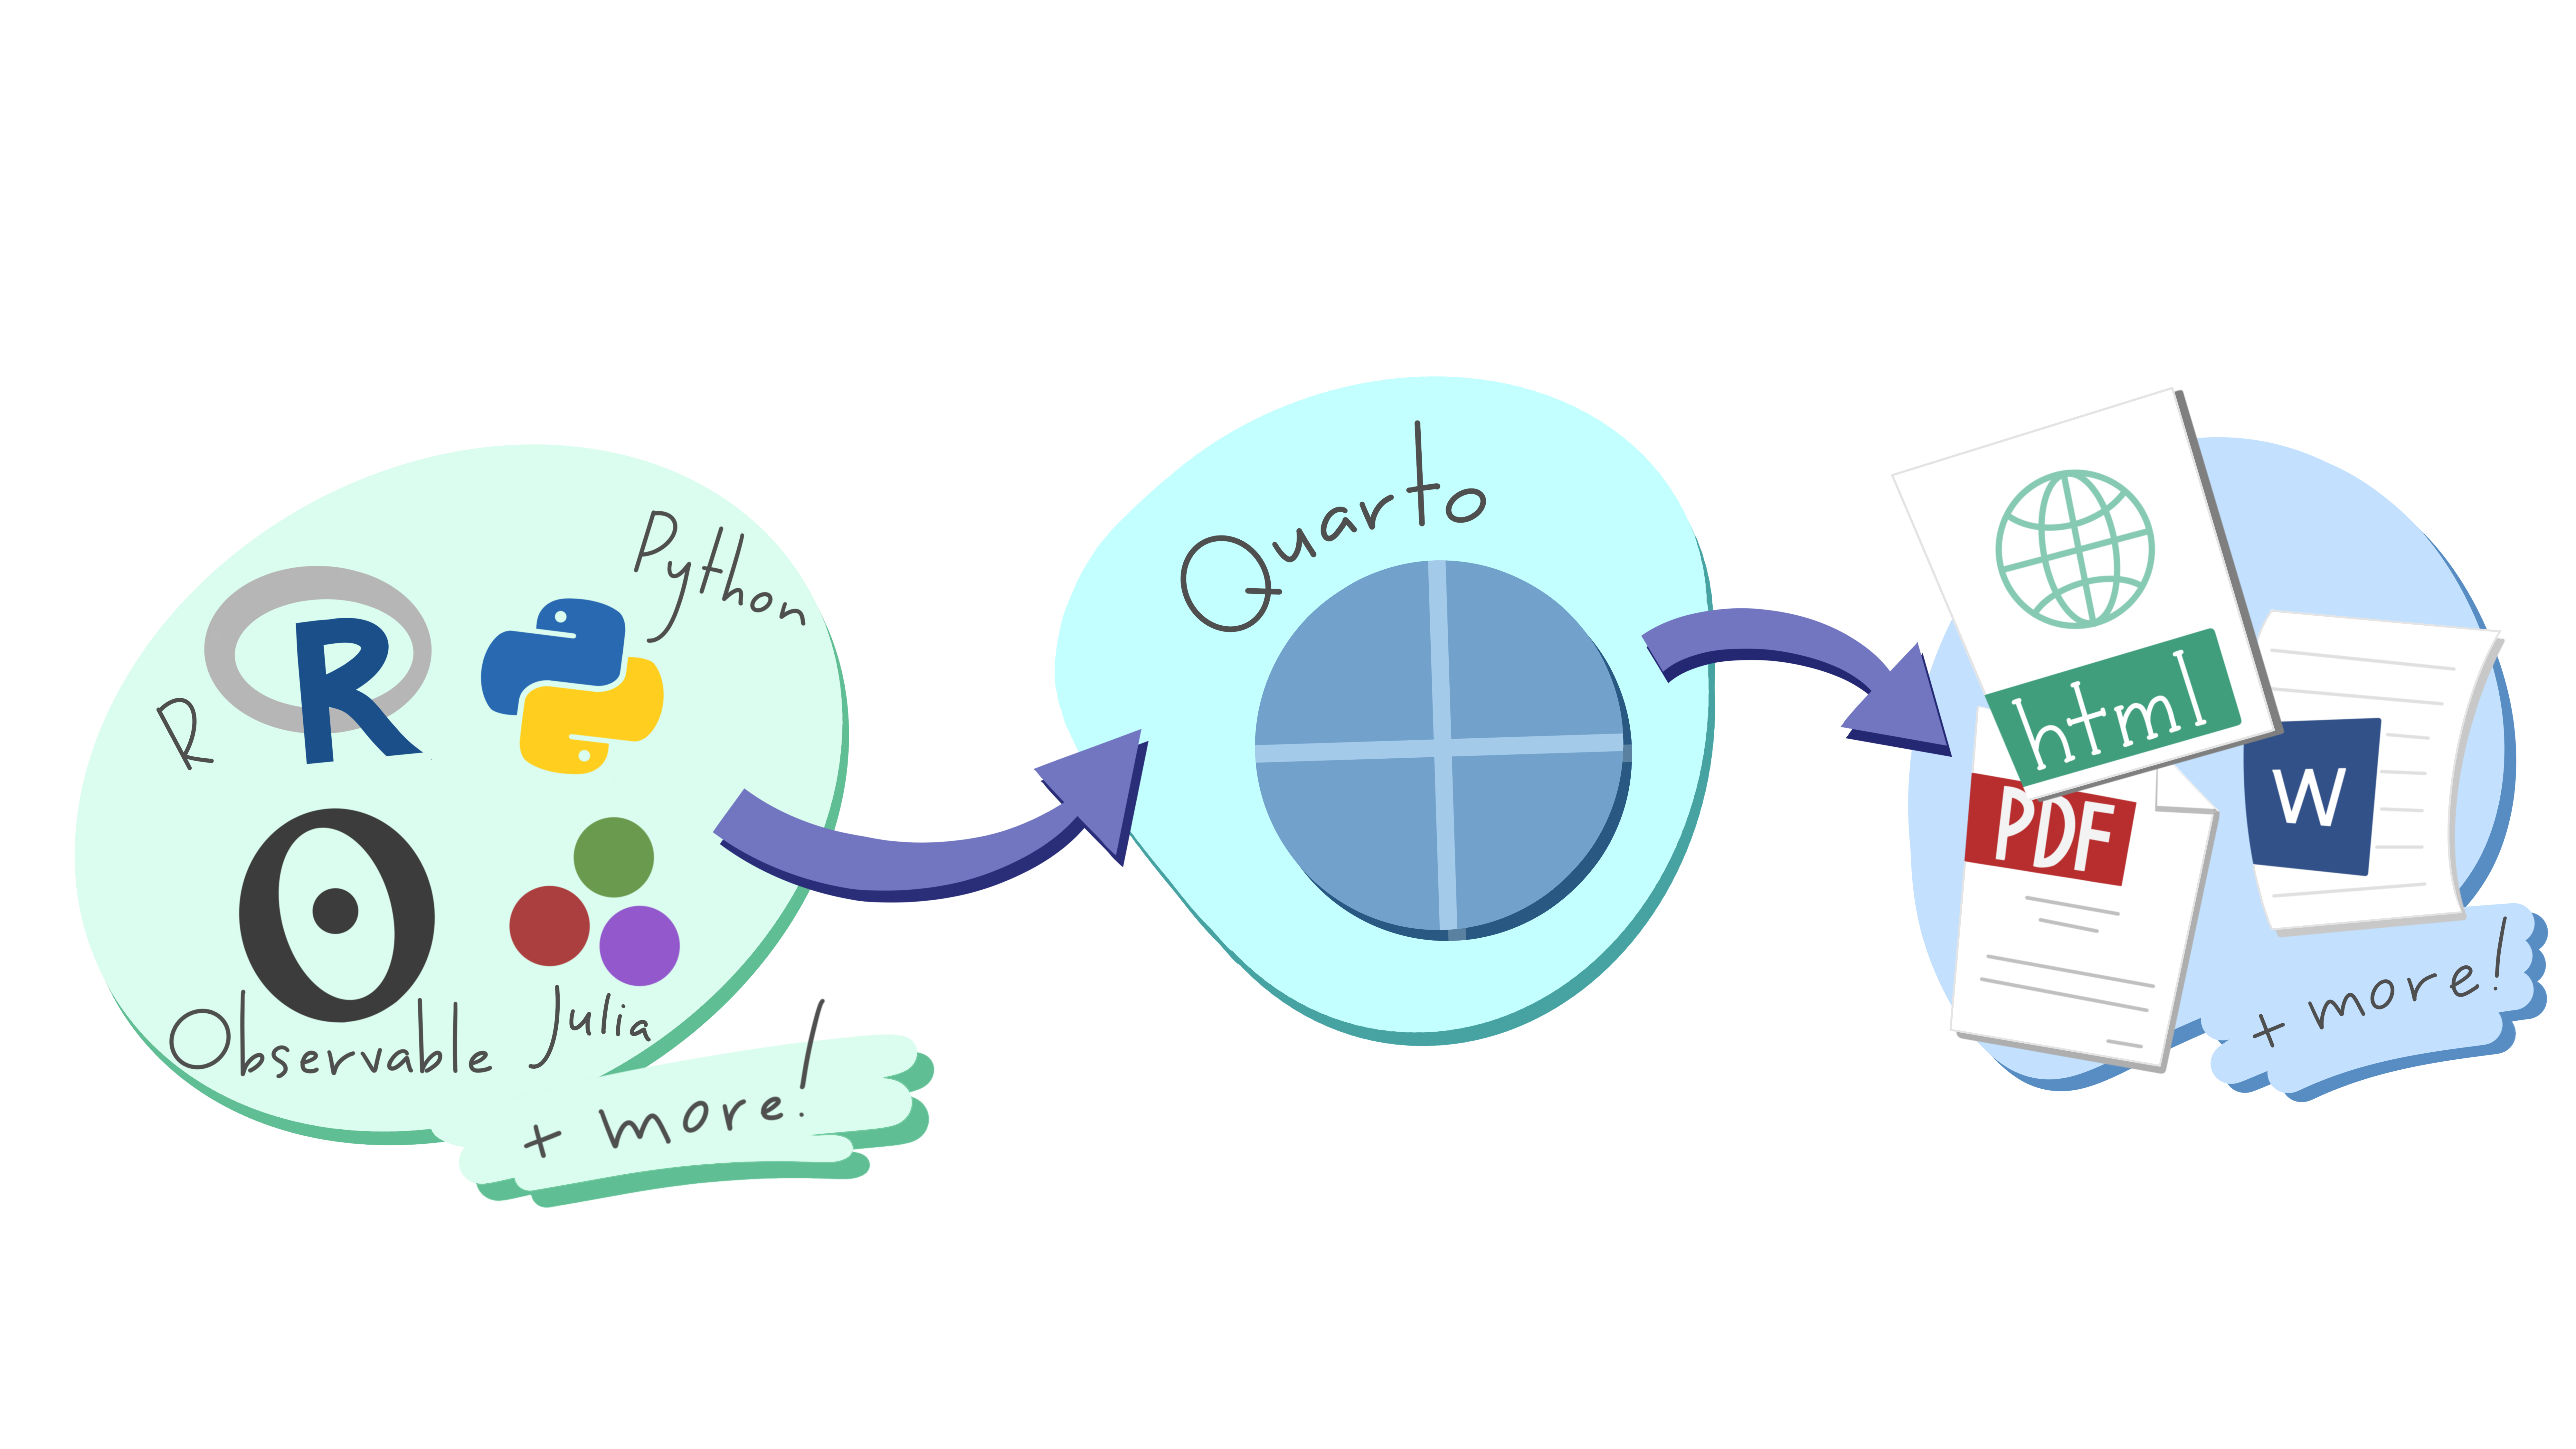
What is Quarto?
“Publishing system” by Posit 1
- Based on RMarkdown
- Able to execute code
- Supports multiple programming languages
- Integrated in RStudio
Usecases
- Articles/Reports
- Websites
- Presentations
- Books
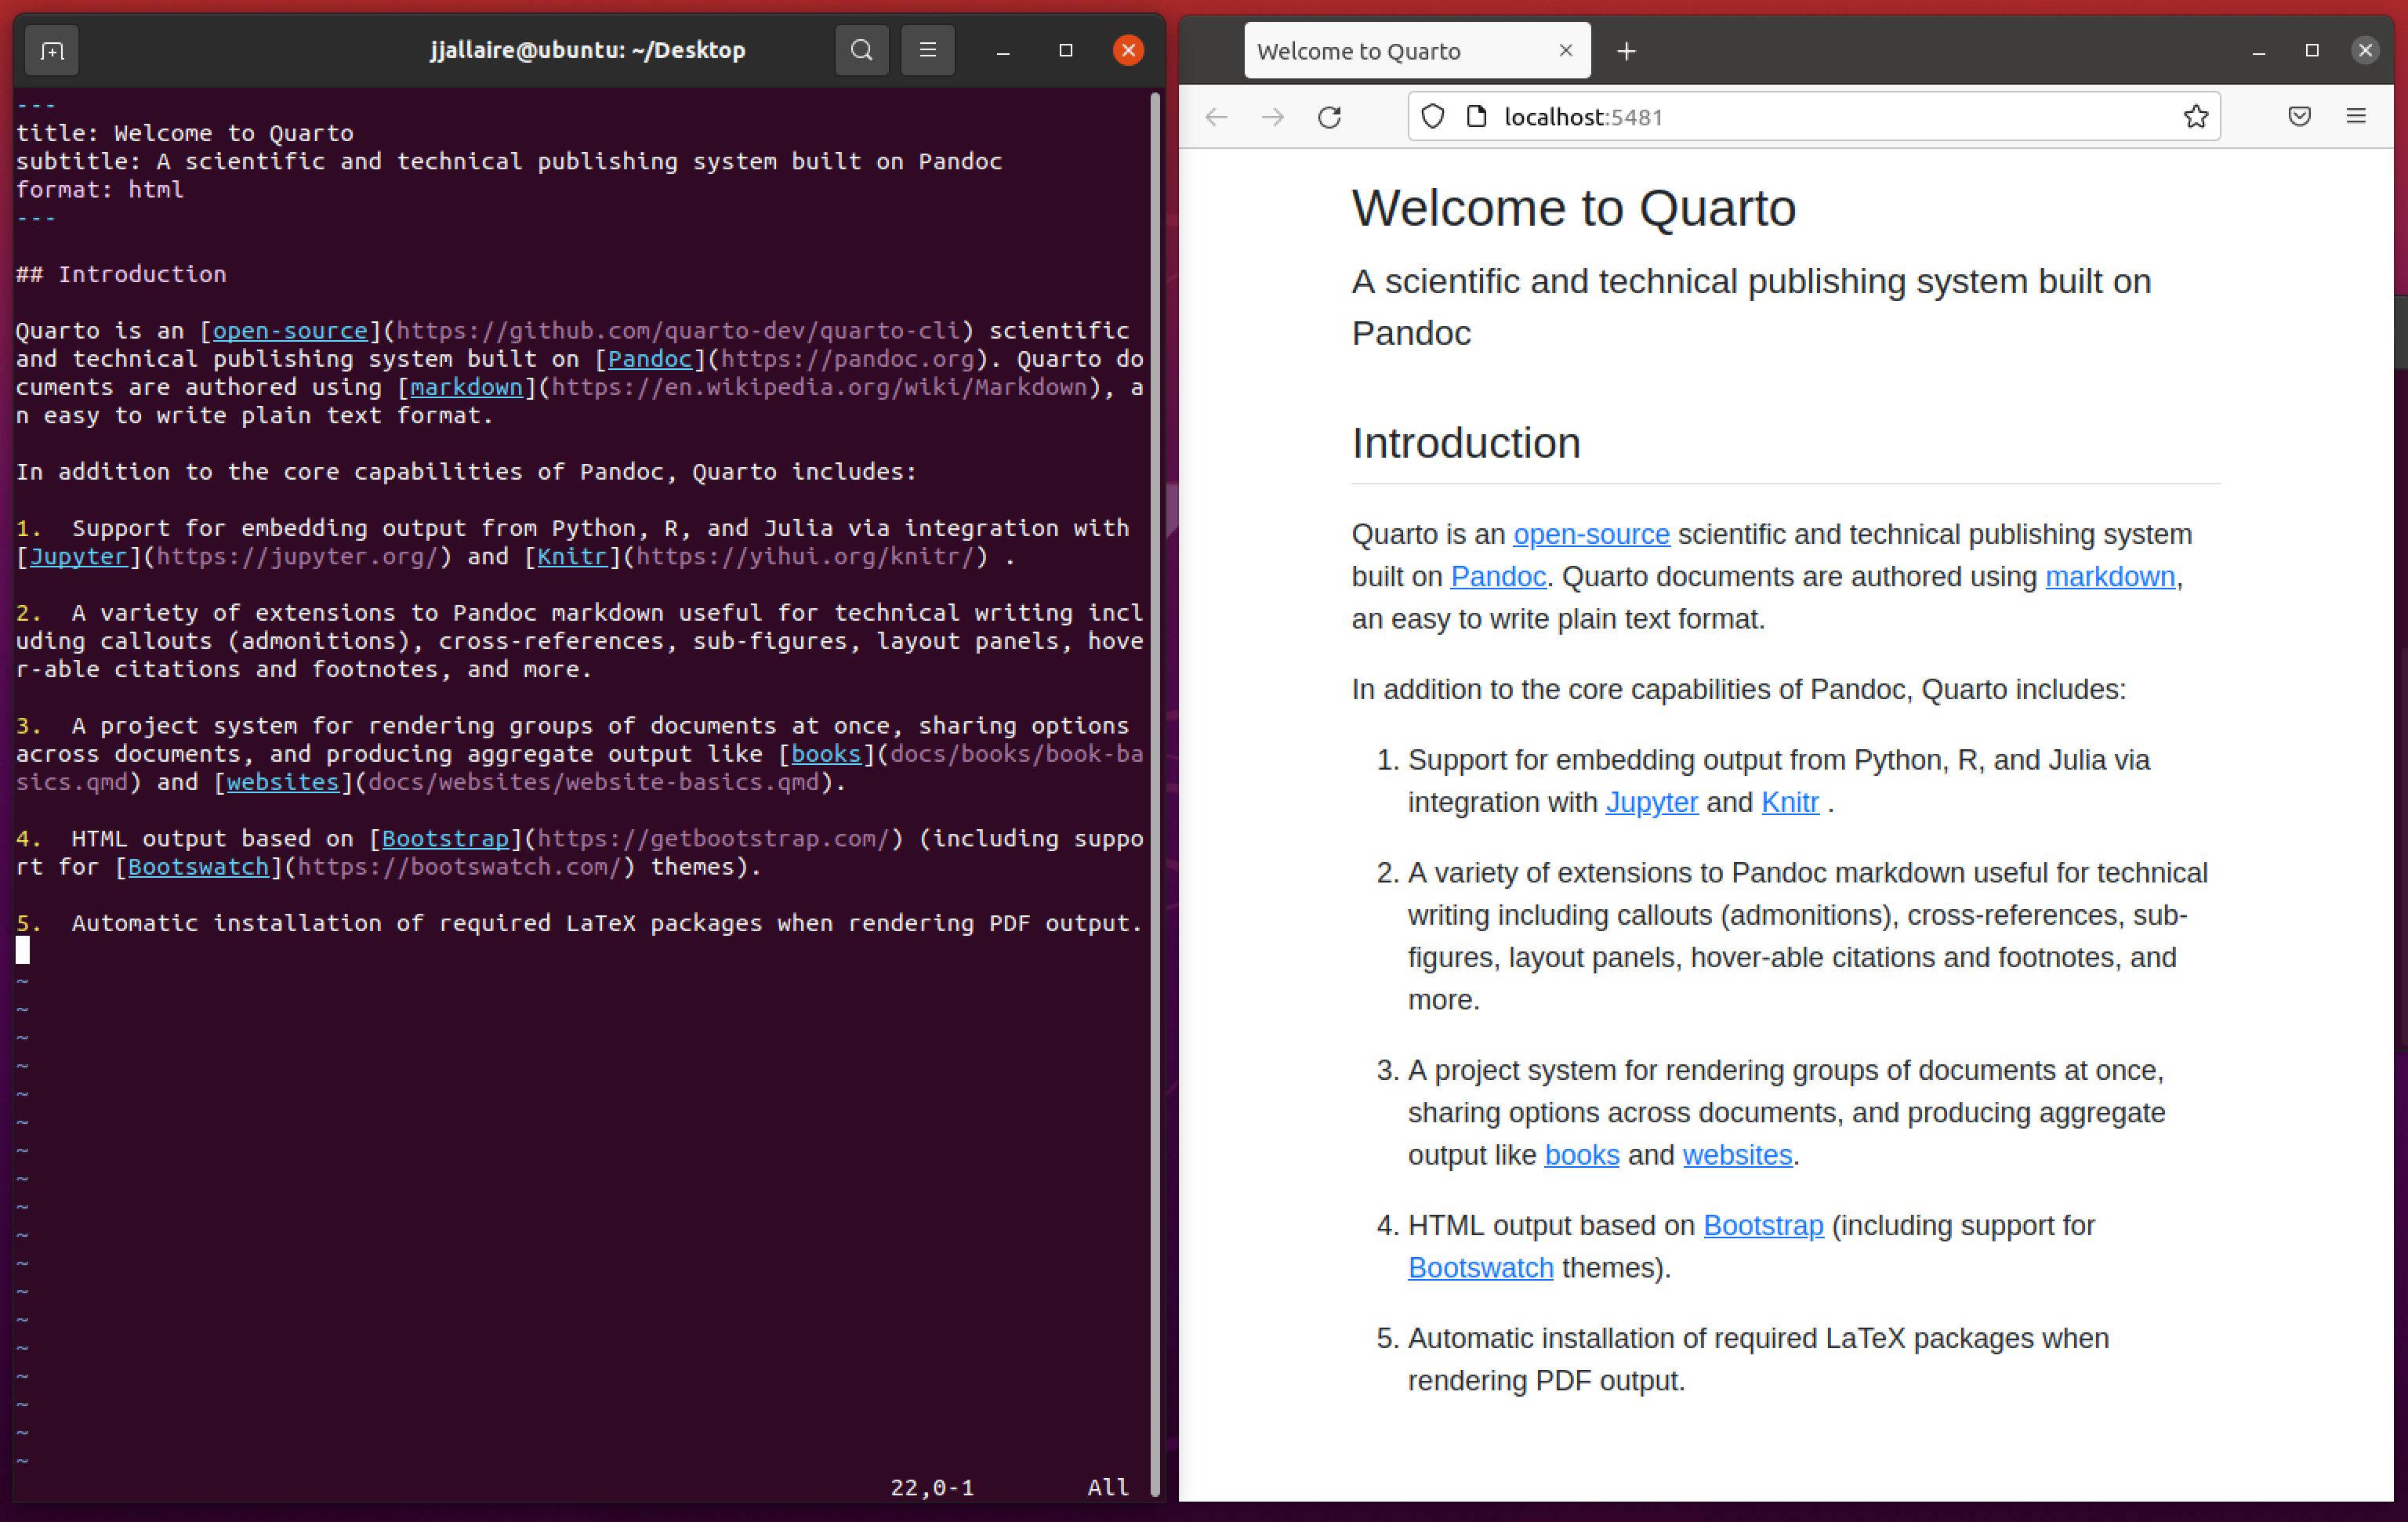
How to render Quarto files
1. Preview
- The document will be rendered and a web browser with a “live preview” opened
- Position this browser so that you can see it as you edit and save the document
- Every time you save, the preview will be updated
- Windows Users: Note, that
quarto previewmight not work in Git Bash! Use theRenderbuttons in RStudio (see right column)

Links and images
| Input | Output |
|---|---|
|
https://quarto.org/ |
|
Quarto |
|
 |
|
|
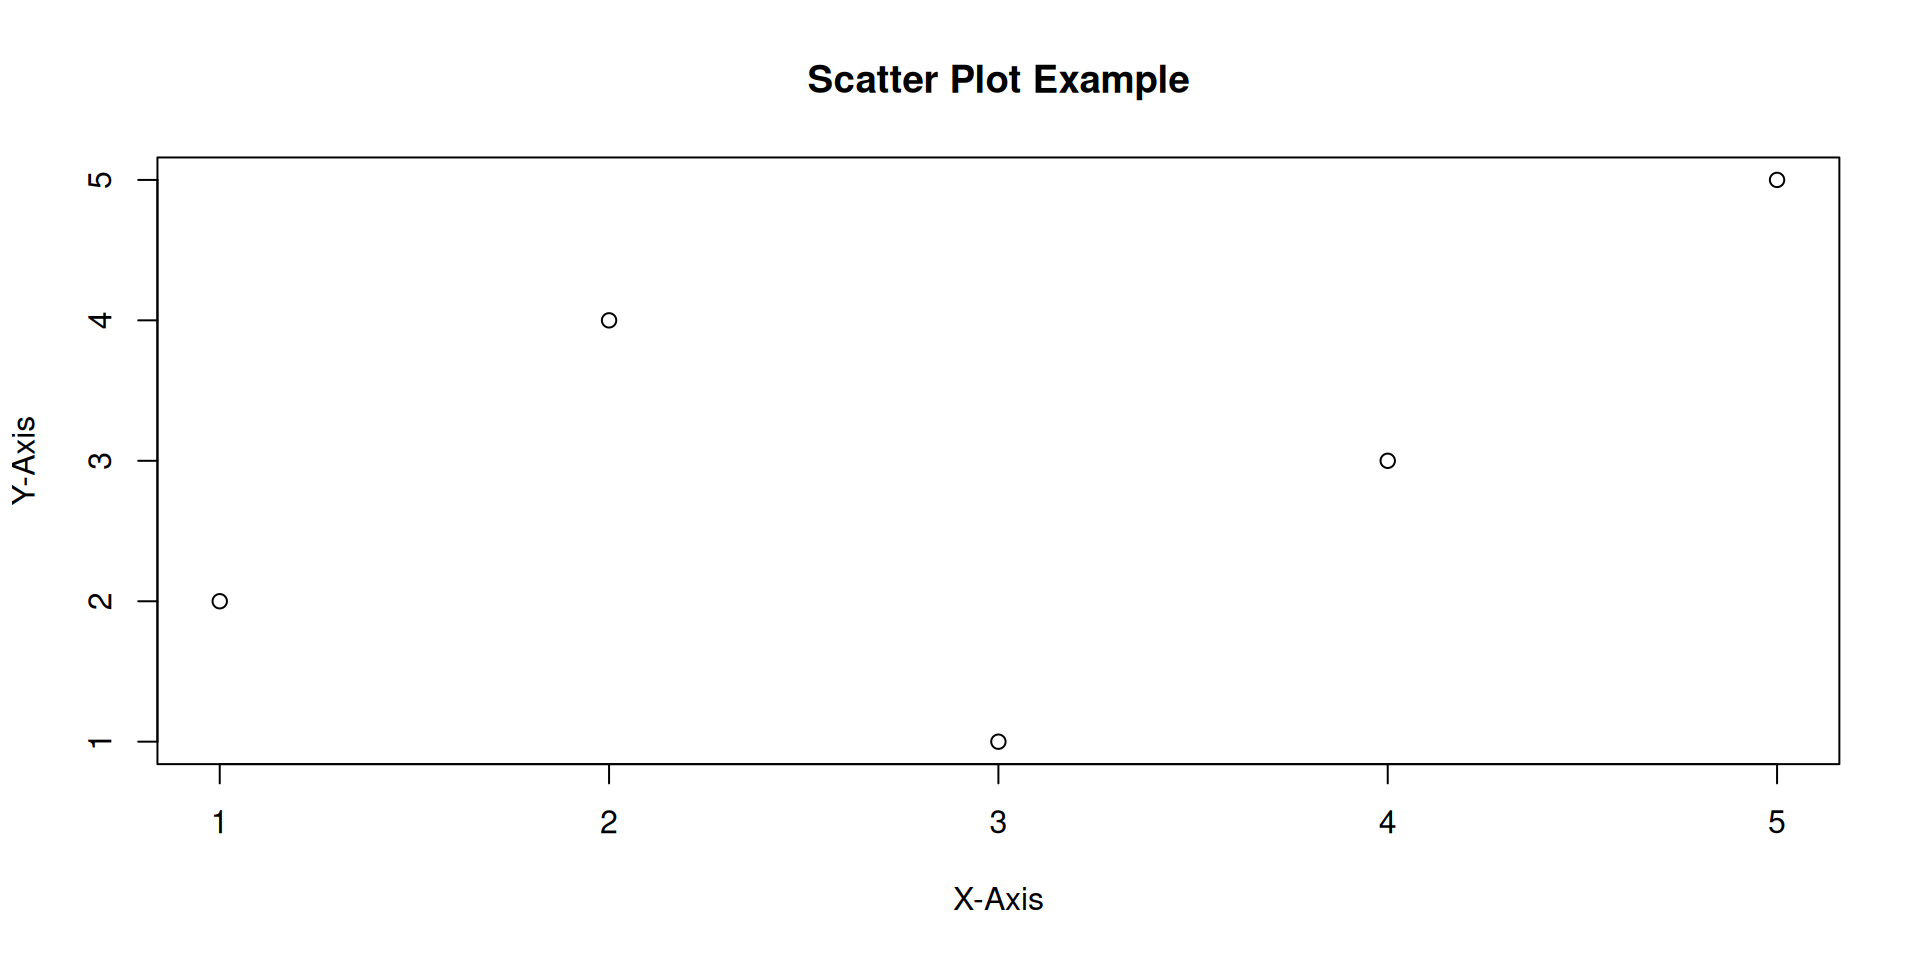
Code chunks
- Executable code: Quarto files support code execution during rendering
- Code chunks can be interactive
- Customizable options: Specify various options for code chunks
- You can also use inline code
- R code enclosed by:
```{r} code ```
Footnotes
The company formerly known as RStudio