
| Day | Date | Time | Title |
|---|---|---|---|
| 1 | 2026-03-20 | 09:30 - 10:00 | Welcome & Introduction |
| 1 | 2026-03-20 | 10:00 - 10:30 | Quarto: Introduction |
| 1 | 2026-03-20 | 10:30 - 10:45 | Quarto: Presentations |
| 1 | 2026-03-20 | 10:45 - 11:00 | Git: Setup & Configuration |
| 1 | 2026-03-20 | 11:00 - 11:15 | Command Line |
| 1 | 2026-03-20 | 11:15 - 12:00 | Git: Basics |
| 1 | 2026-03-20 | 12:00 - 13:00 | Lunch Break |
| 1 | 2026-03-20 | 13:00 - 14:00 | Git: Remotes |
| 1 | 2026-03-20 | 14:00 - 15:00 | Git: Collaboration |
| 1 | 2026-03-20 | 15:00 - 15:30 | Quarto: Publication to GitHub Pages |
| 1 | 2026-03-20 | 15:30 - 16:00 | Git: Tags & Releases |
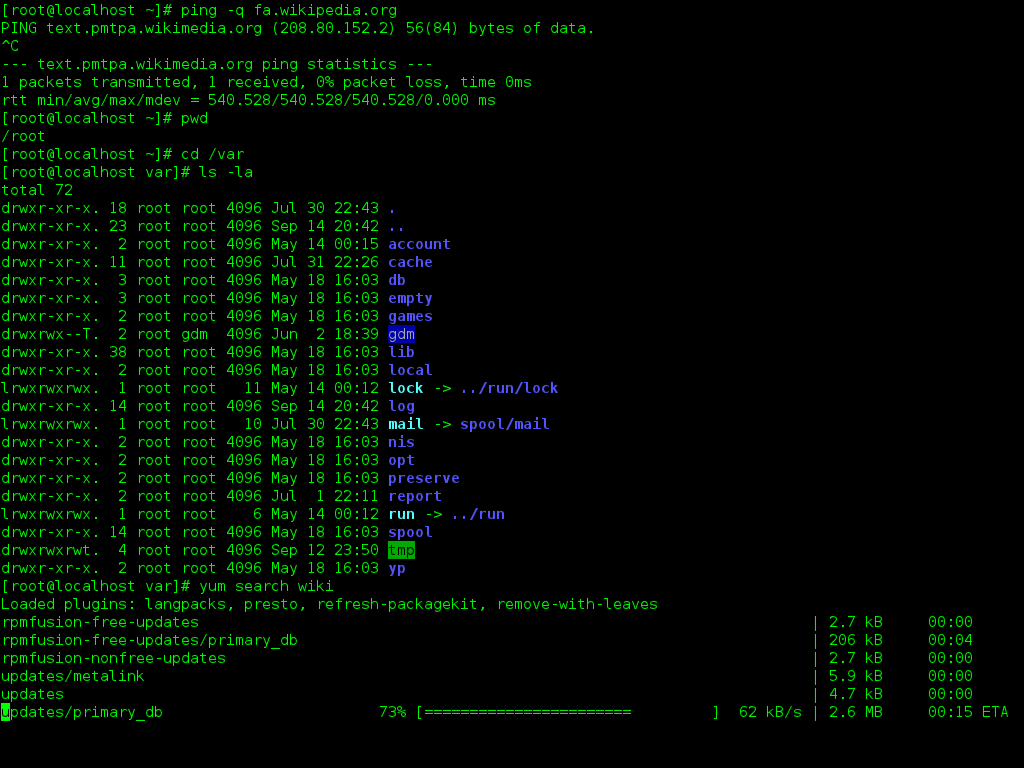
Command Line
FAIR & Reproducible Teaching with Quarto & Git
Course at University of Hamburg
Slides | Source
![]()
11:00
Schedule
1 Command Line
This session: Command Line
Objectives
💡 You can name the advantages of command-line interfaces.
💡 You can navigate directories using absolute and relative paths.
💡 You can use shortcuts like the tilde or dots to navigate your file system.
💡 You can apply arguments and flags to customize command-line commands.
💡 You can use wildcards (*) for file selection.
💡 You can combine command-line commands.
Tasks
In this session, you will work on the following tasks:
- Reading: Read the chapter(s) Command Line in the Version Control Book.
- Implementation: Try out the commands in the chapter.
- Exercises: Work on the exercises.
As always:
- Try out the commands of this session and play around with them.
- Check whether you have achieved the learning objectives.
- Ask questions!
Reading
Tasks
In this session, you will work on the following tasks:
- Reading: Read the chapter(s) Command Line in the Version Control Book.
- Implementation: Try out the commands in the chapter.
- Exercises: Work on the exercises.
As always:
- Try out the commands of this session and play around with them.
- Check whether you have achieved the learning objectives.
- Ask questions!
Exercises
Use only command line commands for all tasks.
Exercise 1: Set up your research workspace
- Navigate to a folder where you want to keep course-related files and display its path.
- Create a new directory called
my-research-project. - Navigate into this directory and confirm your location.
Exercise 2: Create project structure
- Create three subdirectories inside your research project:
data,scripts, anddocs. - List all contents and verify the directories were created.
- Navigate into the
docsdirectory.
Exercise 3: Create project documentation
- While in the
docsdirectory, create a file calledREADME.md. - Add the text “# My Research Project” to this file.
- List the directory contents and confirm the file was created.
Exercise 4: Set up data organization
- Navigate to the
datadirectory. - Create two subdirectories:
rawandprocessed. - Navigate to the
rawdirectory and create three sample data files:experiment1.csv,experiment2.csv, andsurvey.txt.
Exercise 5: Add project metadata
- Navigate back to your main project directory.
- Create three files:
project-notes.txt,todo-list.md, andreferences.bib. - Use wildcards to list only the
.txtfiles in your project.
Exercise 6: Organize and clean up
- Create a new directory called
archive. - Move all
.txtfiles from your main project directory into thearchivedirectory. - Display the full directory tree of your project and see the final structure.
Solutions
Exercise 1: Set up your research workspace
- Navigate to your home directory and display its path:
- Create a new directory called
my-research-project:
- Navigate into this directory and confirm your location:
Exercise 2: Create project structure
- Inside your research project, create three subdirectories:
data,scripts, anddocs:
- List all contents to verify the directories were created:
- Navigate into the
docsdirectory:
Exercise 3: Create project documentation
- In the
docsdirectory, create a file calledREADME.md:
- Add the text “# My Research Project” to this file:
- List the directory contents to confirm the file was created:
Exercise 4: Set up data organization
- Navigate to the
datadirectory:
- Create two subdirectories:
rawandprocessed:
- In the
rawdirectory, create three sample data files:experiment1.csv,experiment2.csv, andsurvey.txt:
Exercise 5: Add project metadata
- Navigate back to your main project directory:
- Create three files:
project-notes.txt,todo-list.md, andreferences.bib:
- Use wildcards to list only the
.txtfiles in your project:
Exercise 6: Organize and clean up
- Create a new directory called
archive:
- Move all
.txtfiles from your main project directory into thearchivedirectory:
- Display the full directory tree of your project to see the final structure:
FAIR & Reproducible Teaching