• Home
  • About
  • Schedule
  • Sessions
  • Team
  • Mechanics
  • Repos
  • Code of Conduct
  • Acknowledgements

Contents

  • This session
  • Learning objectives
  • city-guide project
  • Exercises
    • Connect to remote repositories using SSH
    • Upload your local repository to a remote repository
    • 🚀 Optional: Add a README.md
    • 🚀 Optional: Clone and sync your repository
  • Slides
  • Cheatsheet
  • Email

Remotes - Intro

Session 08

Starts at:

December 06 2024 (10:15 am)

Slides Chapter: Remotes - Introduction Quiz

This session

In this session, you will work on the following tasks:

  1. Reading: Read the chapter(s) “Remotes: Introduction” in the Version Control Book.
  2. Implementation: Try out the commands in the chapter.
  3. Exercises: Work on the exercises for the city-guide project.
  4. Quiz: Test your knowledge with the quiz.

As always:

  1. Try out the commands of this session and play around with them.
  2. Check whether you have achieved the learning objectives.
  3. Ask questions!
  4. Let’s git started!

Learning objectives

đź’ˇ You can create a remote repository.
đź’ˇ You can connect your local Git repository to a remote repository service like GitHub or GitLab.
đź’ˇ You can pull and push changes to and from a remote repository.
đź’ˇ You can clone a repository from a remote repository.

city-guide project

At the end of this session, you should have accomplished the following:

  1. You created a new private(!) GitHub repository using SSH.
  2. You set the remote URL of your local city-guide Git repository.
  3. You uploaded (i.e., “pushed”) the default branch (main or master) of your city-guide project to GitHub.
  4. You invited Lennart (lnnrtwttkhn) and Reza (rezahakimazar) to your city-guide repository.

Please keep the city-guide folder! We will continue to use it in the following sessions.

Exercises

Connect to remote repositories using SSH

  1. Generate an SSH key.
  2. Copy the SSH key to your clipboard.
  3. Add the SSH key to the remote repository (for example, GitHub or GitLab).
Solutions

Connect to remote repositories using SSH

Code
#!/bin/bash

ssh-keygen -t ed25519 -C "your_email@example.com" # <1>
cat ~/.ssh/id_ed25519.pub # <2>
# Copy the SSh key to your account # <3>
  1. In the command line, create a new SSH key. Make sure to change the example email to your email address. Optionally, provide a passphrase.
  2. Copy the SSH key to your clipboard. Here, we use cat to print the contents of the SSH key to the command line. Copy the contents displayed in the Terminal to your clipboard.
  3. Add the SSH key to your remote repository account.

Upload your local repository to a remote repository

  1. Create an empty repository on the remote repository hosting platform, for example GitHub or GitLab. Make sure to not initialize the repository with any files!
  2. If needed, navigate to your project repository using the command line.
  3. Set the remote URL of your local repository to your remote repository.
  4. Push the changes on your default branch (main or master) to your remote repository.
Solutions

Upload your local repository to a remote repository

Code
#!/bin/bash

# create an empty remote repository # <1>
cd my-project # <2>
git remote add origin https://github.com/your-username/your-repo-name.git # <3>
git push -u origin main # <4>
  1. To create an empty repository on GitHub: (1) Go to GitHub and click the + icon in the upper-right corner, then select New repository. (2) Name your repository. (3) Do not select Initialize this repository with a README. (4) Click Create repository.
  2. Optional: Navigate into the project repository using cd (or a similar path).
  3. Set the remote URL of the local repository to the repository using git remote add origin <URL>. Remember to use the correct <URL> depending on whether you authentication method (typically SSH or PAT).
  4. Push the changes on the default branch (here, main) to the remote repository using git push -u origin main.

🚀 Optional: Add a README.md

  1. Find the option to create a new file on your remote repository in the browser.
  2. Name the file README.md, add a brief description, and provide a commit message.
  3. 🚀 Optional: Play around with Markdown syntax.
  4. Save the README.md file to the repository.
  5. Pull the changes to your local repository.
Solutions
  1. In your browser, go to your remote repository (for example, on GitHub), click Add file, and select Create new file.
  2. Name the file README.md. Add a brief description of your project. Provide a descriptive commit message at the bottom.
  3. Play around with Markdown syntax
  4. Click the green Commit new file button to save the README.md file to the repository.
  5. Use git pull origin main to pull the changes to your local repository.

🚀 Optional: Clone and sync your repository

  1. Move to a location on your computer where you want to clone a repository.
  2. Clone your remote repository to a different location on your computer.
  3. Stage and commit changes in the new location (consider using a new branch).
  4. Push these new changes to GitHub.
  5. Pull the changes to the repository in the original location.
  6. Delete your newly cloned repository.
Solutions
Code
#!/bin/bash

cd /new/location/for/repo # <1>
git clone https://github.com/your-username/your-repo-name.git /new/location/for/repo # <2>
git checkout -b new-branch # <3>
echo "New Recipe" >> recipes.txt # <3>
git add recipes.txt  # <3>
git commit -m "Add new recipe to recipes.txt" # <3>
git push -u origin new-branch # <4>
cd /original/location/for/repo # <5>
git fetch # <5>
git switch new-branch # <5>
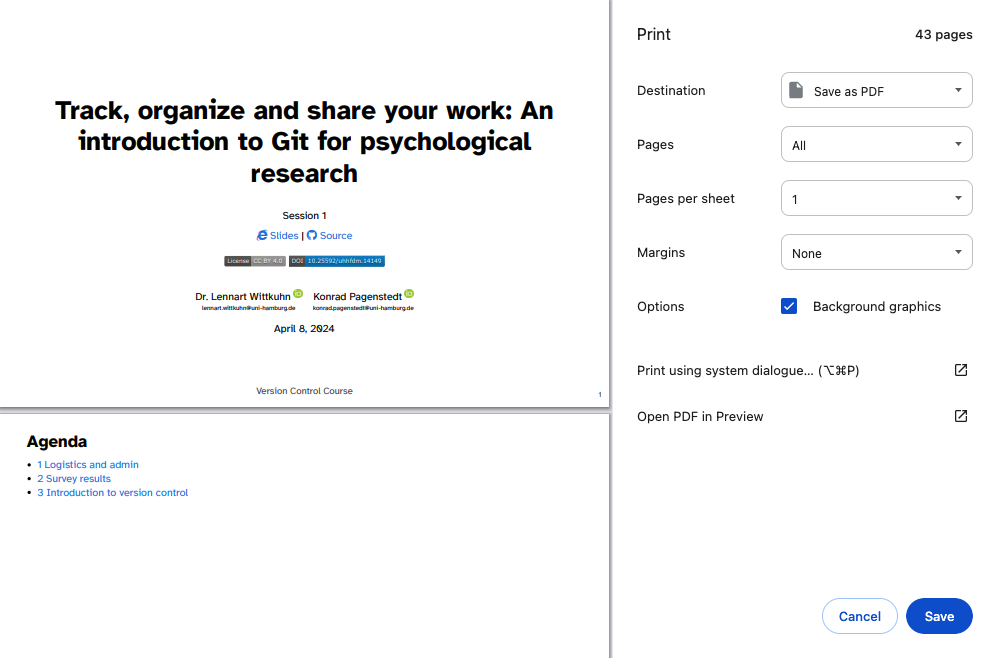
rm -rf /new/location/for/repo # <6>
  1. Move to the location on your computer where you would like to clone your own repository into, using cd in the command line.
  2. Clone your repository from GitHub to a different location on your computer.
  3. Stage and commit changes in the new location (consider using a new branch).
  4. Push the new changes to GitHub.
  5. Fetch these new changes to the repository in the original location.
  6. Delete your newly cloned repository.

Slides

How can I download the slides as PDF?

To print the slides to PDF, do the following:

  1. Toggle into Print View using the E key (or using the Navigation Menu).
  2. Open the in-browser print dialog (CTRL/CMD+P).
  3. Change the Destination setting to Save as PDF.
  4. Change the Layout to Landscape.
  5. Change the Margins to None.
  6. Enable the Background graphics option.
  7. Click Save.

Note: This feature has been confirmed to work in Google Chrome, Chromium as well as in Firefox.

Here’s what the Chrome print dialog would look like with these settings enabled:

Screenshot of Chrome print dialog with the first slide/page of 43 shown on the left, and print options on the right. The Destination print option has Save as PDF selected.

These instructions were copied from the Quarto documentation (MIT License) and slightly modified.

Cheatsheet

Command Description
git remote Manages remote repositories
git clone Creates a local copy of a repository
git pull Fetches and merges the latest changes from a remote repository into the current branch
git fetch Updates remote tracking branches
git push Uploads local commits to a remote repository

Email

Dear course participants,

We have a last-minute preparation request for our seminar today (sorry, for the short notice, it will only take a few minutes):

Please ensure you have a working GitHub account before our next session tomorrow. If you do not have one yet, please create an account at https://github.com/. If you need help, check out the section “Creating an account” in the Version Control Book: https://lennartwittkuhn.com/version-control-book/chapters/remotes-intro.html#creating-an-account.

If you encounter any issues or have any questions, feel free to contact us via email.

We look forward to seeing you later!

Best wishes,

Lennart Wittkuhn (Instructor) & Reza Hakimazar (Teaching Assistant)

© 2024 – 2025 Dr. Lennart Wittkuhn
  • Acknowledgements
License: CC BY 4.0