| Command | Description |
|---|---|
git blame |
Shows the authorship and commit information of each line in a file |
This session
In this session, you will work on the following tasks:
- Reading: Read the chapter(s) “GitHub - Advanced” in the Version Control Book.
- Implementation: Try out the commands in the chapter.
- Exercises: Work on the exercises for the
city-guideproject. - Quiz: Test your knowledge with the quiz.
As always:
- Try out the commands of this session and play around with them.
- Check whether you have achieved the learning objectives.
- Ask questions!
- Let’s git started!
Learning objectives
💡 You know the purpose and components of a Pull Request.
💡 You know how to collaborate using the popular workflow strategy GitHub flow.
💡 You know the purpose and components of a README file.
💡 You can fork a repository.
💡 You can create a Pull Request from a forked repository.
💡 You can protect your main branch.
city-guide project
At the end of this session, you should have accomplished the following:
- You collaborated successfully on a shared project by adding and committing changes to a partner’s repository.
- You created and reviewed a pull request to integrate new content from a partner.
Please keep the city-guide folder! We will continue to use it in the following sessions.
Exercises
“Private” collaboration with pull requests (using GitHub Flow)
- Add your exercise partner as a collaborator to your project repository on GitHub.
- Clone your partner’s repository.
- Create a new branch in your collaborator’s repository.
- Add a new entry to your collaborator’s project file (e.g.,
.txtor.qmd(if you are unsure, where to add the entry, ask your collaborator!) - Add and commit the changes.
- Push the changes on the new branch to the remote repository.
- Create a Pull Request (on GitLab: Merge Request).
- Review the Pull Request that your collaborator made in your repository.
- 🚀 Optional: Add additional changes on the branch pushed by your collaborator.
- Merge the pull request into your repository.
Add a README.md
- Find the option to create a new file on your remote repository in the browser.
- Name the file
README.md, add a brief description, and provide a commit message. - 🚀 Optional: Play around with Markdown syntax.
- Save the
README.mdfile to the repository. - Pull the changes to your local repository.
Slides
How can I download the slides as PDF?
To print the slides to PDF, do the following:
- Toggle into Print View using the E key (or using the Navigation Menu).
- Open the in-browser print dialog (CTRL/CMD+P).
- Change the Destination setting to Save as PDF.
- Change the Layout to Landscape.
- Change the Margins to None.
- Enable the Background graphics option.
- Click Save.
Note: This feature has been confirmed to work in Google Chrome, Chromium as well as in Firefox.
Here’s what the Chrome print dialog would look like with these settings enabled:
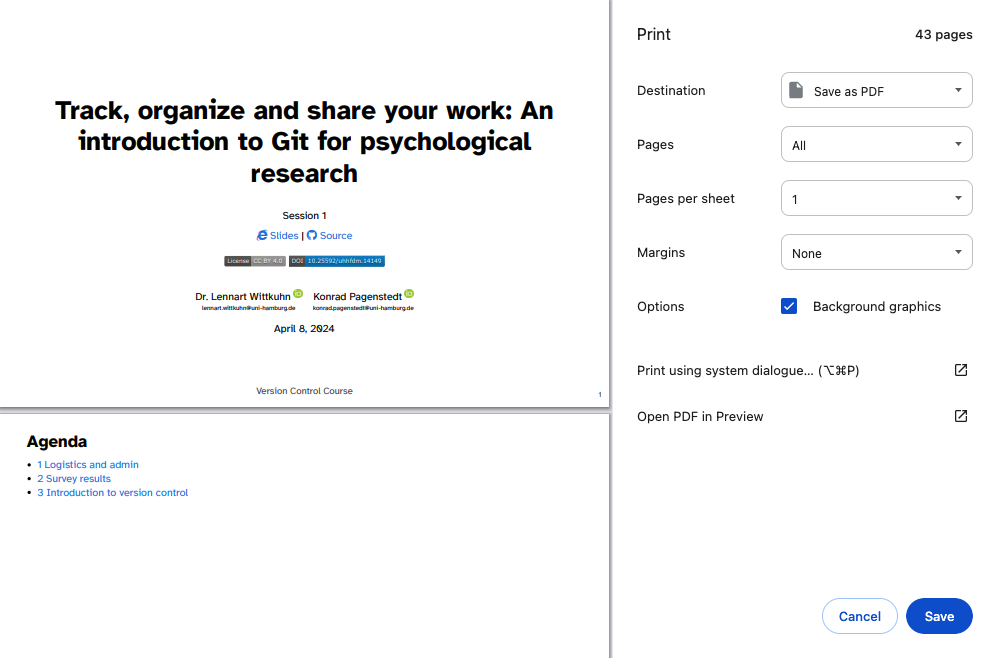
These instructions were copied from the Quarto documentation (MIT License) and slightly modified.