This session
In this session, you will complete the following tasks:
- Complete the chapter “GitHub - Advanced” in the Version Control Book.
- Complete the exercises for the
recipesproject. - Complete the quiz.
As always:
- Try out the commands in the chapter and play around with them.
- Check whether you have achieved the learning objectives.
recipes project
At the end of this session, you should have accomplished the following:
- Successfully collaborated on a shared project by adding and committing changes to a partner’s repository.
- Created and reviewed a pull request to integrate new content from a partner.
Learning objectives
💡 You can fork a repository.
💡 You know the purpose and components of a Pull Request.
💡 You can create a Pull Request from a forked repository.
💡 You know how to collaborate using the popular workflow strategy GitHub flow.
💡 You know the purpose and components of a README file.
💡 You can protect your main branch.
Dear course participants,
This is a reminder to help you prepare for our upcoming seminar session on Monday by completing the exercises from the last sessions (if you have not done so yet):
Please ensure that you have uploaded (“pushed”) your
recipesrepository to GitHub before our next session on Monday.Files that your repository should include are a
recipe.qmdfile (see exercise in Session 06 on “Quarto”), a.gitignorefile (see exercise in Session 04 on “Basic Git workflow”) and aREADME.mdfile (see exercise in Session 08 on “GitHub - Intro”). While this is not mandatory, please try to remove any unnecessary files or clutter, like empty.txtfiles from your repository. You can delete files directly on GitHub by clicking on the three dots next to the directory or file and selecting “Delete file,” then commit the changes. This effectively runsgit addandgit commiton GitHub.
If you encounter any issues or have any questions, feel free to contact us via email.
We look forward to seeing you next Monday!
Best wishes,
Lennart Wittkuhn (Instructor) & Konrad Pagenstedt (Teaching Assistant)
Slides
To print the slides to PDF, do the following:
- Toggle into Print View using the E key (or using the Navigation Menu).
- Open the in-browser print dialog (CTRL/CMD+P).
- Change the Destination setting to Save as PDF.
- Change the Layout to Landscape.
- Change the Margins to None.
- Enable the Background graphics option.
- Click Save.
Note: This feature has been confirmed to work in Google Chrome, Chromium as well as in Firefox.
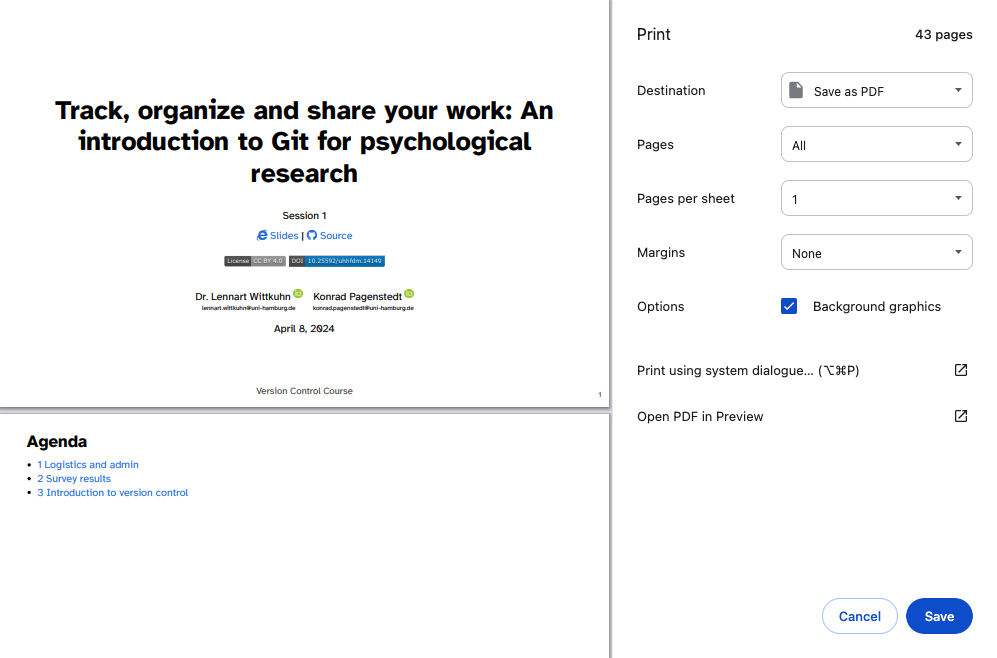
Here’s what the Chrome print dialog would look like with these settings enabled:
These instructions were copied from the Quarto documentation (MIT License) and slightly modified.