Session 3: Setup & First steps with Git

Track, organize and share your work: An introduction to Git for research

Course at Max Planck Institute for Human Development

Slides | Source

License: CC BY 4.0 DOI

11:00

1 Last session: The command line

Last session: The command line

Source: Wikimedia Commons (free license)

Last session: Learning objectives

After the last session, you should now be able to answer the following questions / do the following:

đź’ˇ You can navigate directories using the command line
đź’ˇ You can use shortcuts like the tilde or dots to navigate your file system
đź’ˇ You can explain the difference between absolute and relative paths
đź’ˇ You can use arguments and flags to modify command-line commands
đź’ˇ You understand the concept of wild cards (*) and can use it for system navigation

Last session: recipes project

At the end of this session, you should have accomplished the following:

  1. You used the command line to create a folder on your computer called recipes.
  2. You used the command line to create a file called recipes.txt inside the recipes folder.

Please keep the recipes folder! We will continue to use it in the following sessions.

2 This session: Setup & First steps with Git

Reading

https://lennartwittkuhn.com/version-control-book/chapters/first-steps-git.html

Learning objectives

Setup

đź’ˇ You know how to set up Git for the first time
đź’ˇ You have set up Git on your computer
đź’ˇ You understand the difference between the three Git configuration levels
đź’ˇ You know how to configure your username and email address in Git
đź’ˇ You have set up your preferred text editor when working with Git
đź’ˇ You can escape the command-line text editor Vim

First steps with Git

đź’ˇ You can initialize a Git repository
đź’ˇ You can stage and commit changes
đź’ˇ You know how to explore the commit history
đź’ˇ You can compare different commits
đź’ˇ You know how to use and create a .gitignore file
đź’ˇ You can discuss which files can (not) be tracked well with Git and why
đź’ˇ You know how to track empty folders in Git repositories

Cheatsheet

Configuration

Command Description
git config Get an overview of Git config commands
git config --global "user.name" Sets Git username
git config --global "user.email" Sets Git email address
git config --global core.editor "editorname" Sets Git text editor
git config --global init.defaultBranch main Sets default branch name to main
git config --list Views set Git configurations

Git Basics

Command Description
git init Initializes a folder as Git repository
git status Views Git tracking status of files in the repository
git add Adds file(s) to the staging area
git commit Commits staged files
git commit -m "commit message" Commits staged files with a commit message
git log Views past commits
git diff Views made changes compared to the last commit

Important note: Git repository in user folder?

  • Please make sure that your recipes folder is in a suitable place (for example, in the Desktop, Documents folders or where you keep your course-related files, …) and not in your user directory!
  • Also: Always remember to cd into your repository before you execute Git commands!
  • If your recipes folder is in your user directory, please tell Lennart and we can fix it.

Tip: To prevent ever creating a Git repository inside your user folder, you can use:

Code
touch ~/.git

Running git init in the user directory now results in a (desired) error:

Output
fatal: invalid gitfile format: /Users/user/.git

Thanks to Eamon Caddigan for the idea!

Tasks

In this session, you will work on the following tasks:

  1. Reading: Read the chapters “Setup” and “First steps with Git” in the Version Control Book.
  2. Implementation: Try out the commands in the chapter.
  3. Exercises: Work on the exercises for the recipes project.
  4. Quiz: Test your knowledge with the quiz.

As always:

  1. Try out the commands of this session and play around with them.
  2. Check whether you have achieved the learning objectives.
  3. Ask questions!
  4. Let’s git started!

recipes project

At the end of this session, you should have accomplished the following:

  1. You set up Git.
  2. You initialized your recipes folder as a Git repository.
  3. You committed your first recipe to the recipes repository.

Please keep the recipes folder! We will continue to use it in the following sessions.

Exercises

Setup

  1. Set your Git username and email address.
  2. Change the default name of the initial “branch” to main.
  3. 🚀 Optional: Change your default text editor.

First steps with Git

  1. Create a recipes folder and turn it into a Git repository.
  2. Add a short recipe to recipes.txt (any favorite or an intriguing AI-generated one).
  3. Stage and commit your changes to the repository.

Basic Git workflow

  1. Commit at least three additional changes in recipes.txt.
  2. Create a .gitignore file
    • Everyone: Create a random file that you want to ignore, for example random-file.docx.
    • Add the random file to the .gitignore file, stage and commit your changes.
    • All macOS users: Let your repository ignore .DS_Store.
  3. 🚀 Make at least one commit using git commit --amend.
    • For example, add a recipe without a title first, commit, then add a title and use git commit --amend to add the title change to the same commit.
  4. 🚀 Optional: Commit .gitkeep in an otherwise empty directory

Note: There are several terms in these instructions that might still be unfamiliar to you, for example “repository”, “stage” or “commit”. Don’t worry, you will learn about what these terms mean in the chapters.

3 Appendix

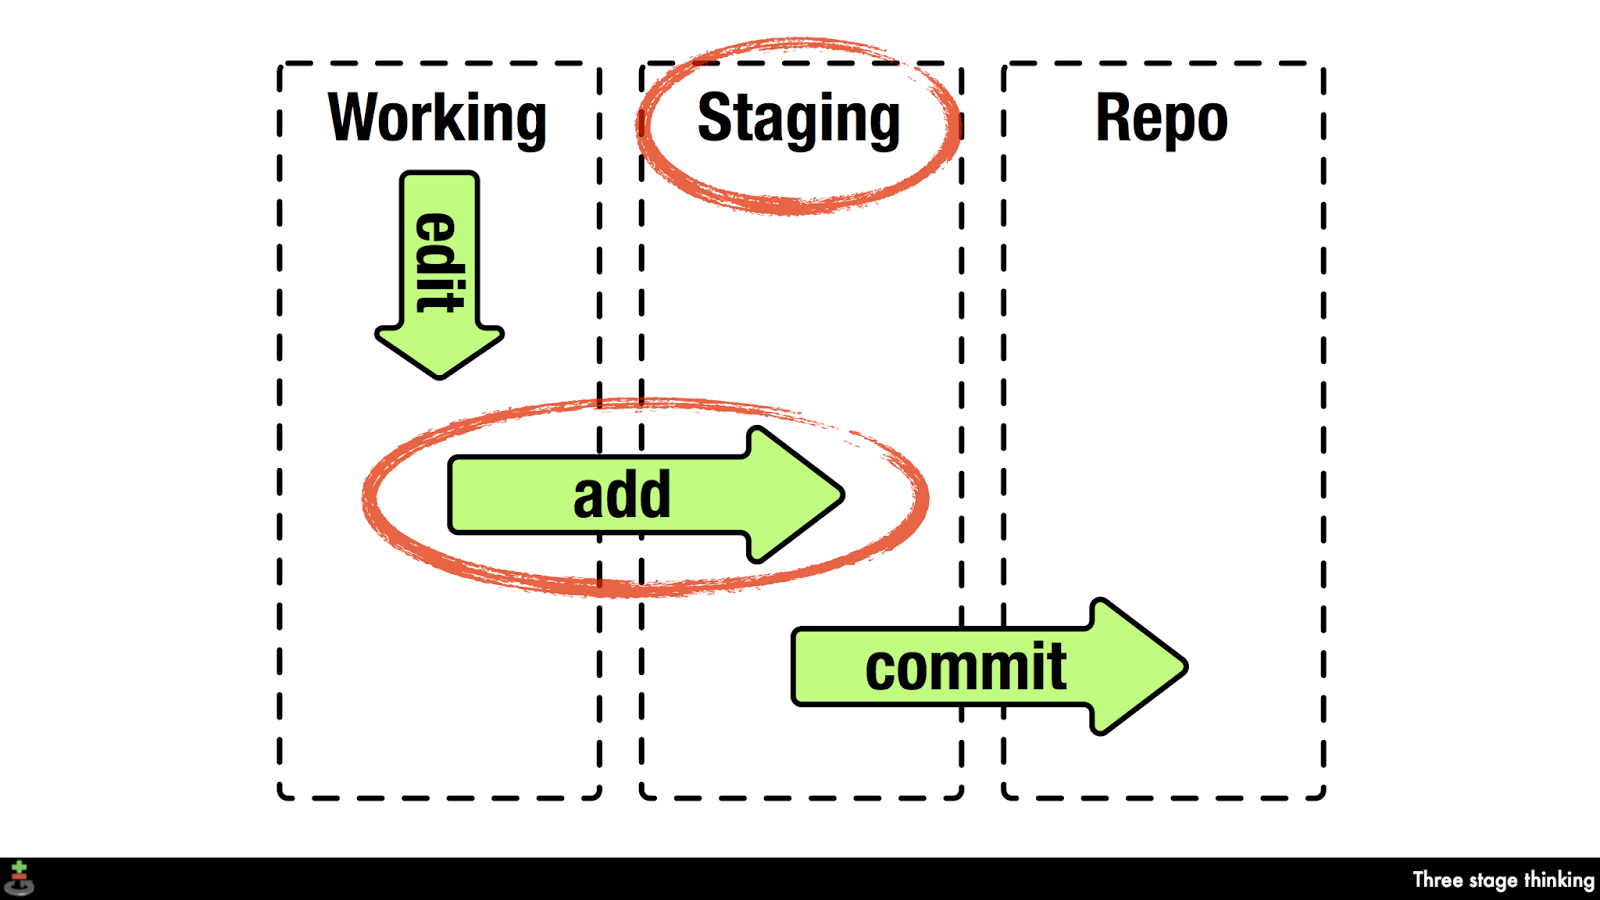
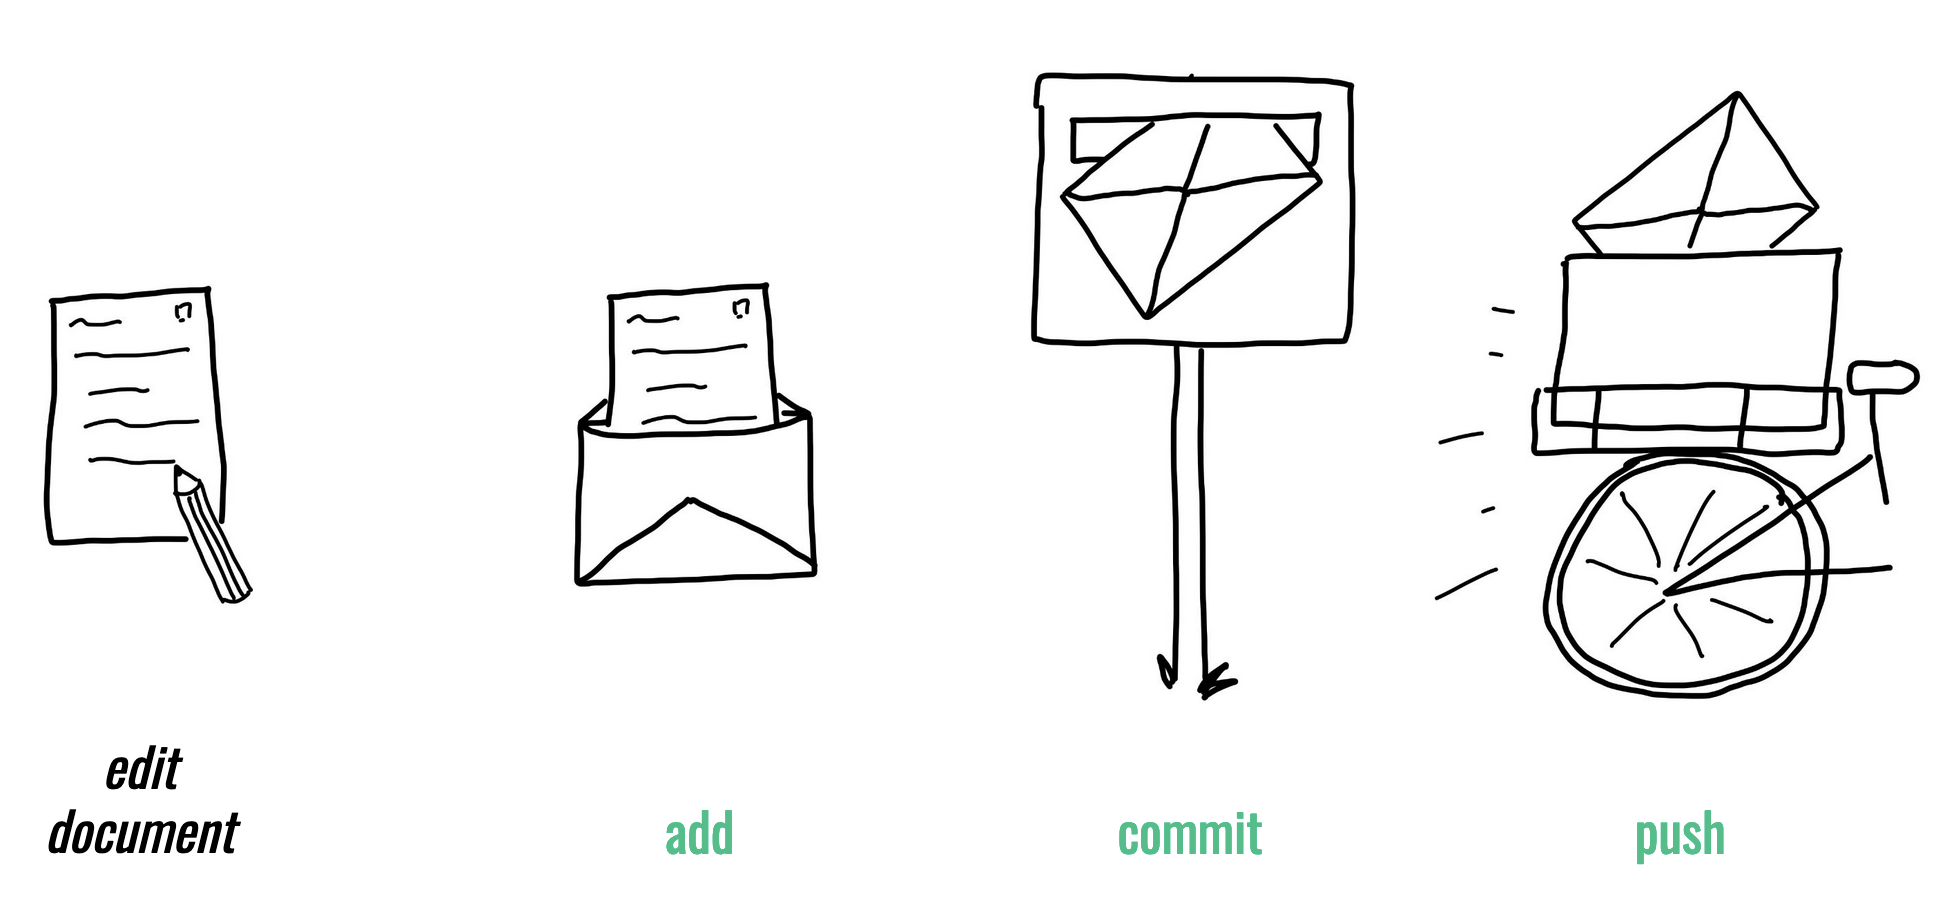
Staging and Committing

Staging:

  • Command: git add
  • Purpose: Preparing and organizing files before they are recorded in the repository’s history.

Committing:

  • Command: git commit -m "commit message"
  • Purpose: Saving the changes in the staged files to the repository’s history, creating a snapshot.

Source: git-scm.com

Source: Heidi Seibold

git log

git log

e.g:


commit 3f6db14ed93d6e92a207a9a3ac5f8b8c5c5c5c34 (HEAD -> main, origin/master, origin/HEAD)
Author: Jane Doe <jane@example.com>
Date:   Tue Apr 24 14:24:48 2024 -0700

    Fix the widget rendering issue in the dashboard

commit a4324f44d3e85723a4d91cb9e07132b7115e4941
Author: John Smith <john@example.com>
Date:   Mon Apr 23 16:17:59 2024 -0700

    Update dependencies to newer versions

commit fa204b9145bf7fc7ff226a26b49a567fc2eb1b94
Author: Alice Johnson <alice@example.com>
Date:   Sun Apr 22 15:08:43 2024 -0700

    Initial commit of project files

commit b9690b287bdfec6e17af39b7337b84e9ebf6f046
Author: Lennart Wittkuhn <lennart.wittkuhn@tutanota.com>
Date:   Fri Mar 22 15:19:43 2024 +0100

    move illustration of bad git commits (xkcd comic) and edit sentence

commit d8d770dd84cd19086f41d8d38752b223c8130859
Author: konradpa <konrad@pagenstedt.de>
Date:   Wed Mar 6 13:51:13 2024 +0100

    add image to setup chapter

commit 074c9f6e12dd5fc8cc61de9f31efbdbce41a7583
Author: konradpa <konrad@pagenstedt.de>
Date:   Wed Mar 6 13:51:07 2024 +0100

    add image to rewriting history chapter

Saving command line history?

Use this:

history > history.txt

https://lennartwittkuhn.com/version-control-book/chapters/command-line.html#saving-command-line-history

Commit .gitignore?

Yes, commit your project-specific .gitignore file.

https://lennartwittkuhn.com/version-control-book/chapters/first-steps-git.html#ignoring-files-and-folders-.gitignore

Best practices for commit messages

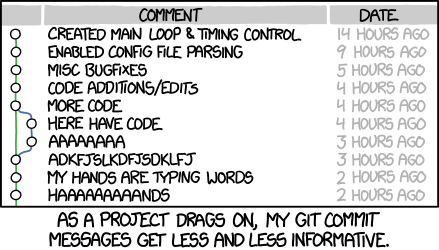
  • Try to keep commit messages short (less than 72 characters)
  • Use present tense and start with an imperative verb to indicate the purpose of the commit, for example “add”, “fix”, “improve” (as if you are giving orders to the codebase to change its behavior)

If applied, this commit will … [your commit message]

  • Try to describe why a change is being made
  • Link specific issues that are addressed by your commit
  • Use the description for more explanation and context