
| No | Time | Title | Contents | Reading | Survey/Quiz |
|---|---|---|---|---|---|
| 1 | 9:30 - 10:00 | Welcome & Introduction to Version Control | Logistics and course admin Results of course survey Introduction to version control Introduction to Git |
Introduction to Version Control | Course survey |
| 2 | 10:00 - 10:45 | Basics of the Command Line | File systems and navigation Benefits of the command line Basic command line commands |
Command Line | Command Line Quiz |
| 3 | 10:45 - 11:30 | Setup & First steps with Git | Configuration and setup of Git Initializing a Git repository Fundamental Git commands Tracking changes wih Git |
Setup, First steps with Git, Git Essentials | Git Basics Quiz |
| 4 | 11:30 - 12:15 | Branches, Merging Merge Conflicts | Understanding branches in Git Creating and switching between branches Merging branches Resolving merge conflicts |
Branches | Git Branches Quiz |
| 5 | 12:30 - 13:30 | Lunch Break | Enjoy your lunch! | ||
| 6 | 13:30 - 14:15 | Integration with GitHub / GitLab | Introduction to remote repositories Managing repositories on GitHub / GitLab Pushing and pulling changes Cloning a remote repository |
Remotes Intro | GitHub Quiz |
| 7 | 14:15 - 15:00 | Collaboration on GitHub / GitLab | Forking Collaboration with GitHub Flow Pull / Merge Requests Issues Project Management |
GitHub Advanced, GitHub Issues | GitHub Quiz |
| 8 | 15:00 - 15:30 | Summary & Outlook | Summary of course contents Outlook to more Git topics Discussing open questions |
Session 2: Basics of the Command Line
Track, organize and share your work: An introduction to Git for research
Course at General Psychology Lab at the University of Hamburg
![]()
![]()
10:00
1 Logistics & Admin
Schedule
Course exercise: Building an online recipes book
2 Basics of the Command Line
This session: Basics of the Command Line
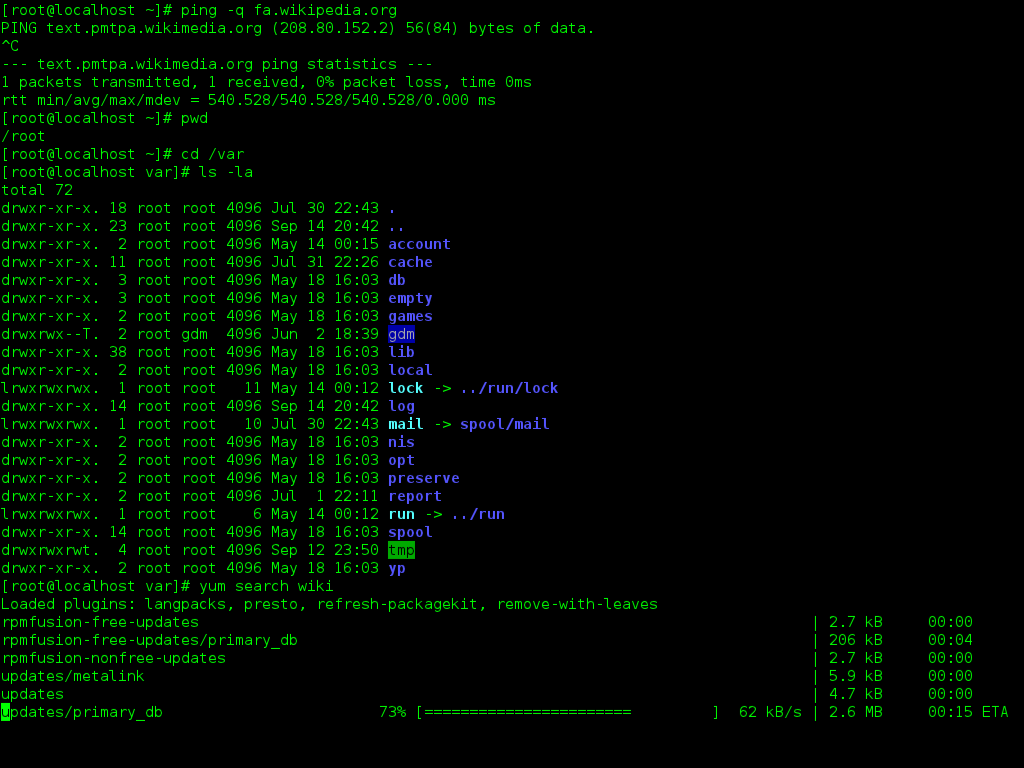
Source: Wikimedia Commons (free license)
Learning objectives
💡 You can navigate directories using the command line.
💡 You can use shortcuts like the tilde or dots to navigate your file system.
💡 You can explain the difference between absolute and relative paths.
💡 You can use arguments and flags to modify command-line commands.
💡 You understand the concept of wild cards (*) and can use it for system navigation.
Reading
https://lennartwittkuhn.com/version-control-book/chapters/command-line.html
Cheatsheet
| Command | Description |
|---|---|
pwd |
Displays the path of the current working directory |
cd <PATH> |
Changes the current working directory to <PATH> |
cd ~ |
Changes the current working directory to the user’s home directory |
cd .. |
Moves up one folder |
cd ../.. |
Moves up two folders |
clear |
Clears the contents of your command line window |
ls |
Lists files and folders in the current working directory |
ls <PATH> |
Lists files and folders in <PATH> |
ls -a |
Lists all files (including hidden files) in the current working directory |
ls -alh |
Lists all files in a long format that is easy to read for humans |
[Command] --help |
Displays all possible flags for a specific command (on Windows) |
man [Command] |
Displays all possible flags for a specific command (on macOS) |
mkdir <FOLDER> |
Creates a new folder called <FOLDER> |
mkdir <FOLDER1> <FOLDER2> |
Creates two separate folders called <FOLDER1> and <FOLDER2> |
touch <FILE> |
Creates a new empty file called <FILE> |
open <FILE> |
Opens the file called <FILE> (on macOS) |
start <FILE> |
Opens the file called <FILE> (on Windows) |
echo "example text" >> file.txt |
Writes “example text” into file.txt |
cat <FILE> |
Displays the content of <FILE> |
mv FILE.txt <FOLDER> |
Move FILE.txt into <FOLDER> |
mv <FOLDER_OLD> <FOLDER_NEW> |
Renames <FOLDER_OLD> to <FOLDER_NEW> |
ls -alh *.csv |
Uses a wildcard to list all .csv files in the current working directory |
rm -r <FOLDER> |
Removes the folder <FOLDER> |
history |
Display the command history of the current terminal session |
history > history.txt |
Saves the entire command history to a file named history.txt (overwrites existing content in history.txt) |
history >> history.txt |
Adds the entire command history to the end of the file named history.txt |
tree |
Displays a graphical representation of the directory structure |
wget <URL> |
Downloads a file from the specified |
Tasks
In this session, you will work on the following tasks:
- Reading: Read the chapter “Command Line” in the Version Control Book.
- Implementation: Try out the commands in the chapter.
- Exercises: Work on the exercises for the
recipesproject. - Quiz: Test your knowledge with the quiz.
As always:
- Try out the commands of this session and play around with them.
- Check whether you have achieved the learning objectives.
- Ask questions!
- Let’s git started!
recipes project
At the end of this session, you should have accomplished the following:
- You used the command line to create a folder on your computer called
recipes. - You used the command line to create a file called
recipes.txtinside therecipesfolder.
Please keep the recipes folder! We will continue to use it in the following sessions.
Exercises
Navigate the file system
Identify a folder on your computer where you (want to) keep course-related files. If you don’t have one, choose a suitable location in your file system.
- Navigate into the chosen location.
- Use the command line to display the path of your chosen folder.
Create files and folders
- Create a new subfolder and name it
recipes. - Navigate into the
recipessubfolder. - Create a new file and name it
recipes.txt. - Confirm that the files was created by listing the contents of the folder.
Solutions
Navigate the file system
- Navigate into the chosen location. Replace
/path/to/your/chosen/directorywith a path on your computer. A good location might be within your/Documentsfolder or a dedicated/Projectsor/Universityfolder. This can help to easily find course-related files on your computer.
Create files and folders
- Use
pwdto display the path of your chosen folder. - Use
mkdirto create a new subfolder and name itrecipes, within your chosen folder. - Use
cd recipesto navigate into therecipessubfolder. - Use
touch recipes.txtto create a new file and name itrecipes.txt. - Use
lsto confirm that the files was created by listing the contents of the folder.
Version Control Course