| No | Date | Title | Contents | Reading | Survey/Quiz |
|---|---|---|---|---|---|
| 1 | 2024-10-18 | Introduction to version control | Organizational matters Overview of seminar sessions Introduction to version control Introduction to Git and its advantages |
Intro to version control | Course introduction Survey |
| 2 | 2024-10-25 | Command line | File Systems Benefits of the Command Line Basic Command Line commands |
Command Line | Command Line Quiz |
| 3 | 2024-11-01 | Setup + Git Fundamentals | Installation and configuration of Git Initializing a Git repository Basic Git commands |
Installation, Setup, First steps with Git | Installation Survey, Git Basics Quiz |
| 4 | 2024-11-08 | Basic Git workflow | Practicing basic Git commands Ignoring files with .gitignore Good commit messages |
First steps with Git | Git Basics Quiz |
| 5 | 2024-11-15 | Git Essentials (Repetition & Practice) | Practicing basic Git commands Ignoring files with .gitignore Good commit messages |
Git Essentials | Git Basics Quiz |
| 6 | 2024-11-22 | Git Branching and Merging | Understanding branches in Git Creating and switching between branches Merging branches Resolving merge conflict |
Branches | Git Branches Quiz |
| 7 | 2024-11-29 | Quarto Workshop | Introduction to Quarto | ||
| 8 | 2024-12-06 | Introduction to GitHub | Introduction to remote repositories Creating a GitHub account Creating and managing repositories on GitHub Pushing and pulling changes |
GitHub Intro | GitHub Quiz |
| 9 | 2024-12-13 | GitHub with collaborators | Cloning a remote repository Branching and merging in a collaborative environment Pull Requests GitHub Issues Graphical User Interfaces (GUIs), e.g., GitKraken |
GitHub Intro, GitHub Issues | GitHub Quiz |
| 10 | 2024-12-20 | Repetition and Practice | Repetition and Practice | ||
| 11 | 2025-01-10 | Git(Hub) with the world | Forking a remote repository README files Project Management |
GitHub Advanced, GitHub Issues | GitHub Quiz |
| 12 | 2025-01-17 | Publishing | Creating Tags with Git Creating Releases with GitHub Zenodo for publishing |
Tags and Releases | |
| 13 | 2025-01-24 | Graphical User Interfaces | Course evaluation Repetition and practice Intro to Graphical User Interfaces |
Graphical User Interfaces | |
| 14 | 2025-01-31 | Summary & Outlook | Course evaluation results ✨ Surprise ✨ Summary & Outlook |
Session 6: Branches
Track, organize and share your work: An introduction to Git for research
Course at University of Hamburg & Erasmus University Rotterdam
November 22 2024 (10:15 am)
1 Admin
Schedule
I need help!
Help yourself
- Look at the solutions on the exercises page in the Version Control Book (or on each session’s slides)
- Start fresh with a “prepared” repository: Download from the exercises page in the Version Control Book
We help you
- Let us know! Ask questions!
- Send an email with questions!
- Ask for an office hour!
Fellow students help you
- This is a team exercise: We want everyone to keep up!
- Don’t be shy and ask for help from your session partner.
- If you notice that your session partner needs help, please help them first (you will also deepen your knowledge by helping others).
Questions from last session
“How do we submit the exercises?”
- During later sessions, you will learn how to share your
city-guiderepository with us via GitHub. - How you implemented the exercises should be registered as Git commits in your repository.
- Therefore, we can - retrospectively - check if and how you implemented the exercises (yay, version control!).
“How can I make changes in a text (.txt) file?”
- Remember: It’s just a regular text file on your computer.
- Option 1: Use a regular text editor (e.g., TextEdit on macOS, Notepad++ on Windows).
- Option 2: Use
vimdirectly from the command line (see chapter / session on “Setup”). - Option 3: Use command line commands like
echo "My text" >> city-guide.txt.
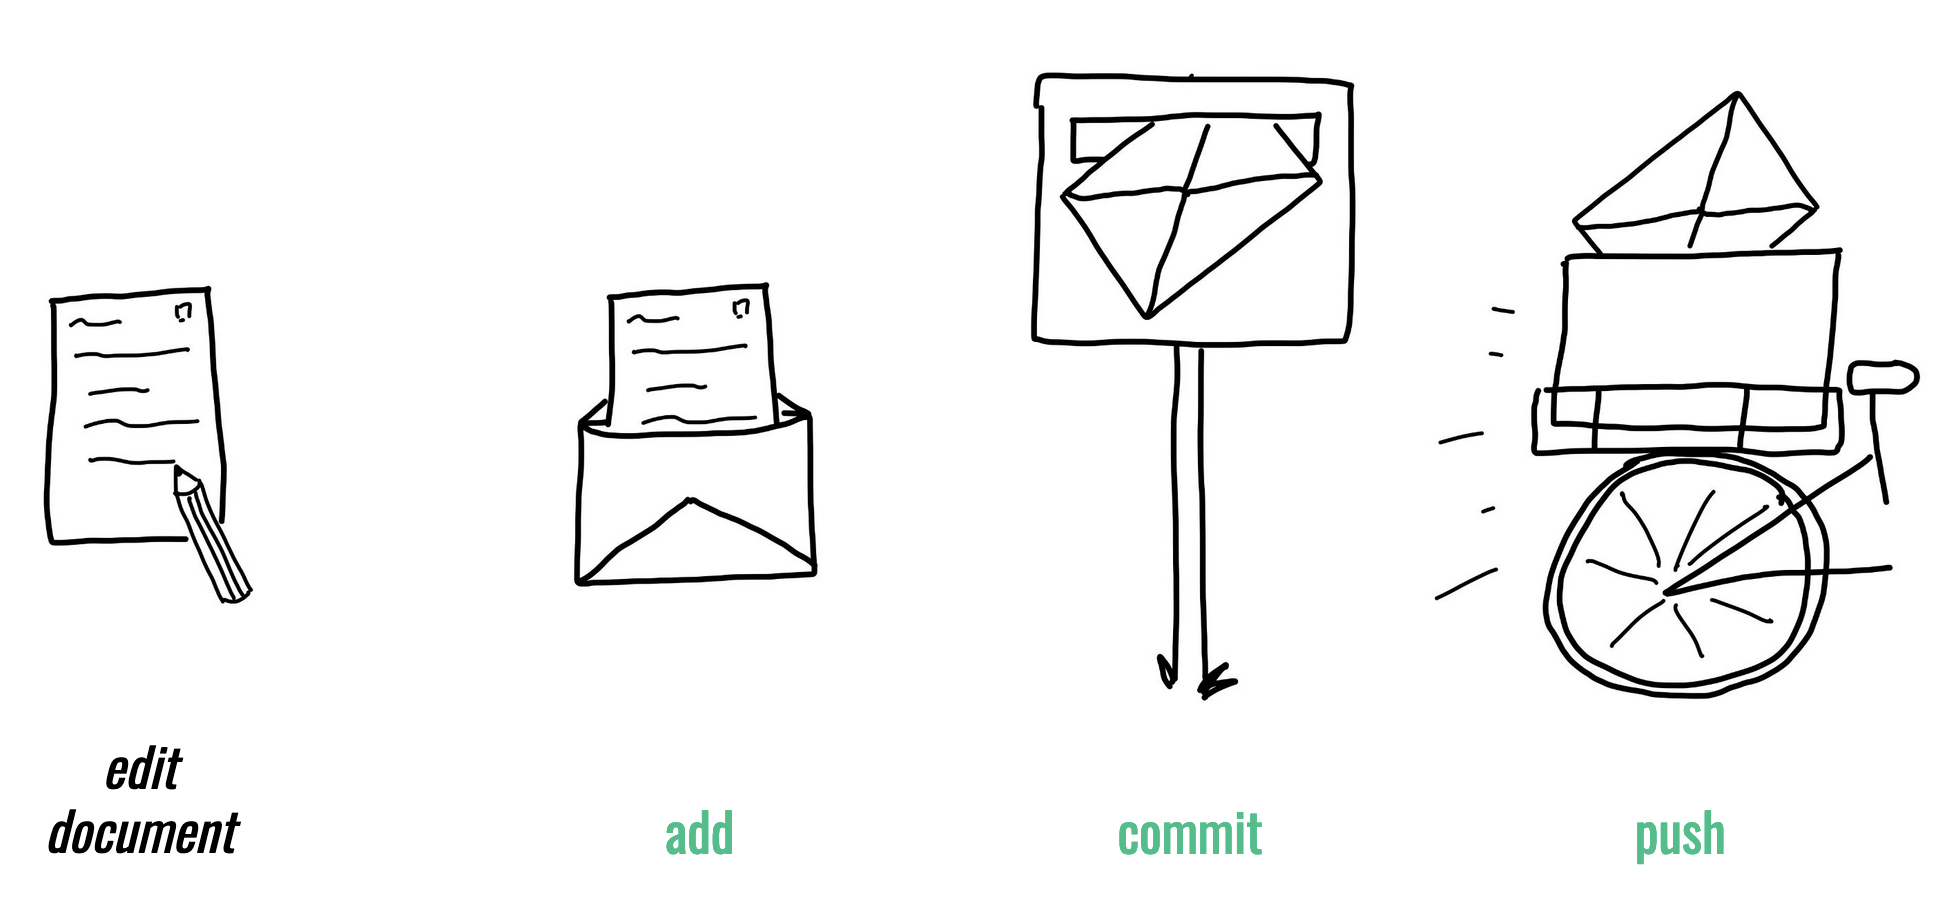
“I ran git commit but nothing happened?”
- Maybe you forgot to run
git addbefore?
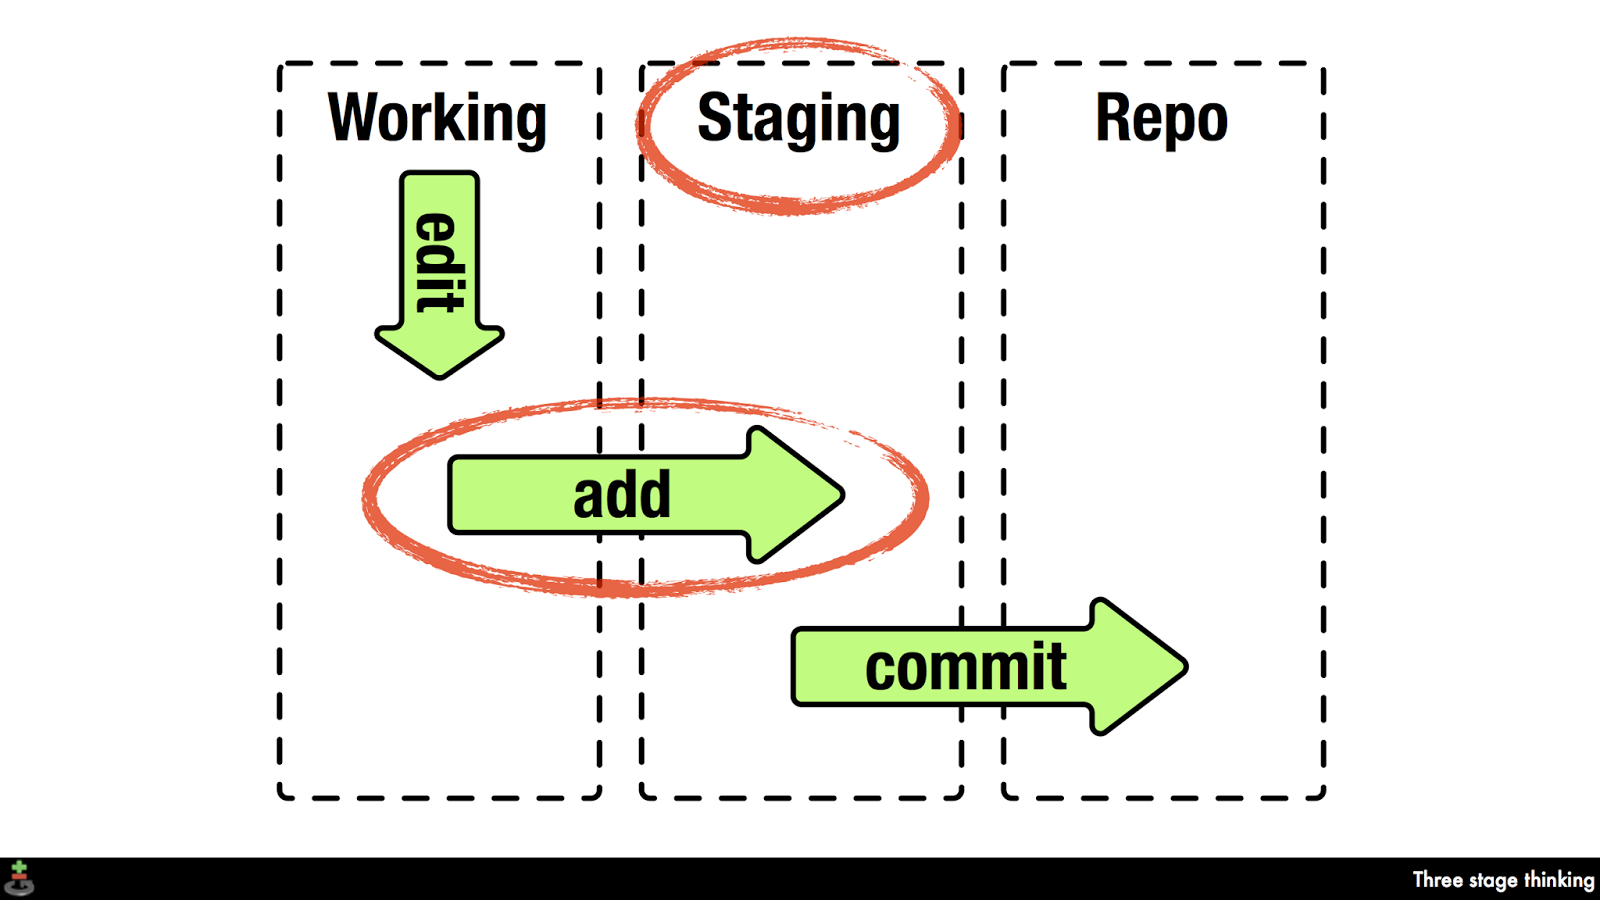
Staging and Committing
Staging:
- Command:
git add - Purpose: Preparing and organizing files before they are recorded in the repository’s history.
Committing:
- Command:
git commit -m "commit message" - Purpose: Saving the changes in the staged files to the repository’s history, creating a snapshot.


2 Last session: Git Essentials
Last session: Git Essentials
https://lennartwittkuhn.com/version-control-book/chapters/git-essentials.html
Last sessions’s learning objectives
Git Essentials
💡 You know how to explore the commit history.
💡 You can compare different commits.
💡 You know how to use and create a .gitignore file.
💡 You can discuss which files can (not) be tracked well with Git and why.
💡 You know how to track empty folders in Git repositories.
city-guide project
At the end of this session, you should have accomplished the following:
- Commit at least three changes in
city-guide.txt. - Make at least one commit using
git commit --amend.- For example, add a a new entry without a title first, commit, then add a title and use
git commit --amendto add the title change to the same commit.
- For example, add a a new entry without a title first, commit, then add a title and use
- Create a
.gitignorefile.- Everyone: Create a random file that you want to ignore, for example
image.jpg. - All macOS users: Let your repository ignore
.DS_Store.
- Everyone: Create a random file that you want to ignore, for example
- 🚀 Optional: Commit
.gitkeepin an otherwise empty directory.
Please keep the city-guide folder! We will continue to use it in the following sessions.
Recap: Best practices for commit messages

- Try to keep commit messages short (less than 72 characters)
- Use present tense and start with an imperative verb to indicate the purpose of the commit, for example “add”, “fix”, “improve” (as if you are giving orders to the codebase to change its behavior)
If applied, this commit will … [your commit message]
- Try to describe why a change is being made
- Link specific issues that are addressed by your commit
- Use the description for more explanation and context
3 This session: Branches
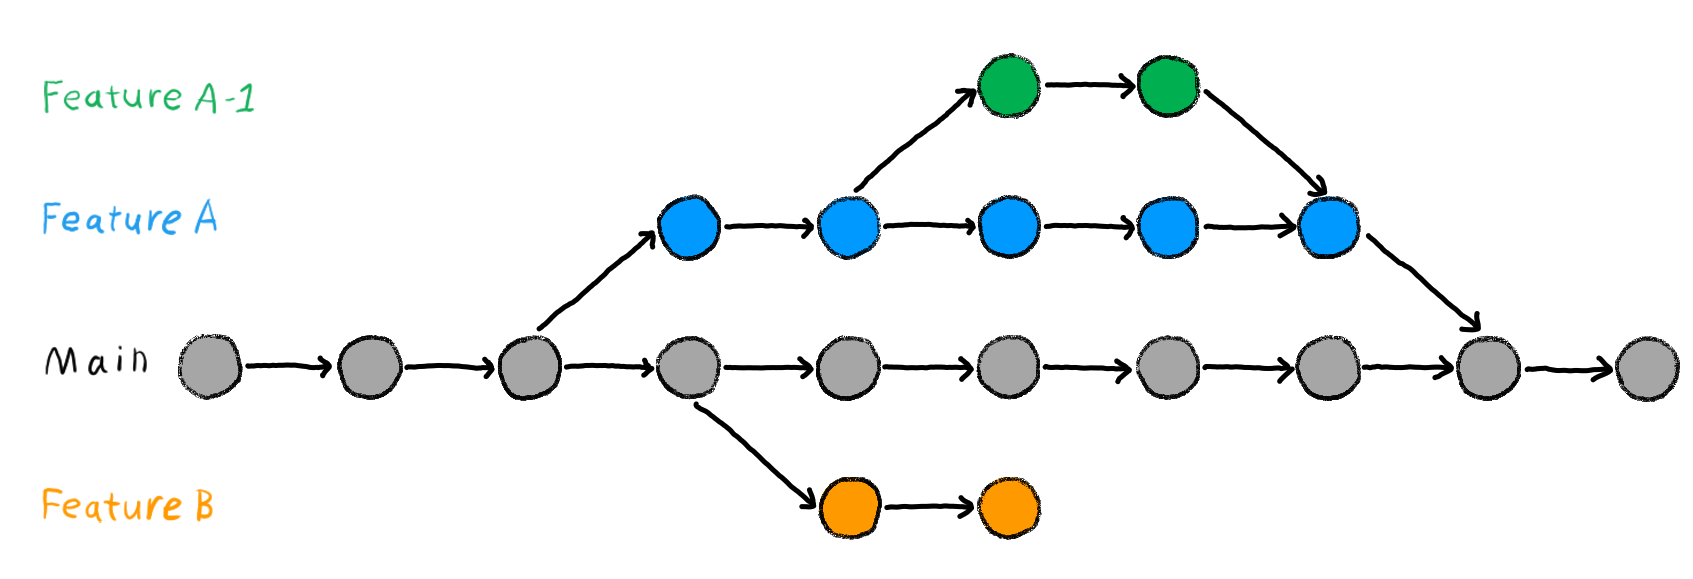
This session: Branches

Figure 1: Image from Chapter “Git Branches” of the “The Turing Way handbook to reproducible, ethical and collaborative data science”, used under a Creative Commons Attribution 4.0 License.
Reading
Learning objectives
Branches
💡 You understand the purpose and benefits of using branches in Git.
💡 You can create and switch between branches.
💡 You can merge branches and resolve merge conflicts.
💡 You can name at least three best practices when working with branches.
Tasks
In this session, you will work on the following tasks:
- Reading: Read the chapter(s) “Branches” in the Version Control Book.
- Implementation: Try out the commands in the chapter.
- Exercises: Work on the exercises for the
city-guideproject. - Quiz: Test your knowledge with the quiz.
As always:
- Try out the commands of this session and play around with them.
- Check whether you have achieved the learning objectives.
- Ask questions!
- Let’s git started!
city-guide project
At the end of this session, you should have accomplished the following:
- You created a new branch and merged changes into your default branch (
mainormaster). - You created and resolved a merge conflict.
Please keep the city-guide folder! We will continue to use it in the following sessions.
Today’s team topic
- Interview each other about your favorite activity involving water.
- Add the recommendation of your partner to your text file.
- Help each other in completing the exercises.
Conversation starter
- Your name?
- Are you based in Hamburg or Rotterdam?
- A (fun) fact about you? For example:
- What did you study before and where?
- What’s your hobby?
- Do you have a pet?
- What’s your favorite color?
- Your mood on an animals scale?

Exercises 1
Create and merge a new branch
- If needed, navigate to the project repository using the command line.
- Create a new branch called
feature. - Switch to the new branch.
- Add a new entry to your project text file.
- Stage and commit the changes to the project text file on the
featurebranch. - View the contents of project text file to verify your changes.
- Switch back to the default branch (
mainormaster). - View the contents of the project text file again to confirm that the previous changes do not exist on the default branch.
- Merge the
featurebranch into your default branch. - Delete the
featurebranch. - View the contents of project text file yet again to confirm that the previous changes have been merged into the default branch.
Exercises 2
Create and resolve a merge conflict
- Deliberately create a merge conflict by editing the same section of a file on two separate branches and attempting to merge them. An example can be found in the branches chapter.
- Resolve the merge conflict.
- Delete the merged branch afterwards.
Solutions: Create and merge a new branch
Code
#!/bin/bash

cd city-guide # <1>
git branch feature # <2>
git switch feature # <3>
cat >> city-guide.txt <<- EOM # <4>

Paddle tour of the Alster canals

- If you're not afraid of the water and would like to enjoy a really super day whilst at the same time doing a bit of upper body exercise, then why not pick up a paddle and work your way down the Alster canals in a canoe.
- Just go to any one of the countless boat and canoe hire points on the Alster to begin your adventure.

taken from https://www.hamburg-travel.com/see-explore/sports-recreation/sports-physical-activity/paddle-tour-of-the-alster-canals/
EOM
git add city-guide.txt # <5>
git commit -m "Add paddle tour of the Alster canals to city-guide.txt" # <5>
cat city-guide.txt # <6>
git checkout main # <7>
cat city-guide.txt # <8>
git merge feature # <9>
git branch -d feature # <10>
cat city-guide.txt # <11>- Optional: Navigate into the project repository using
cd(or a similar path). - Create a new branch called
featureusinggit branch feature. - Switch to the new branch using
git switch feature. You can also create and switch the branch in one step usinggit checkout -b feature. - Add a new entry to your project text file file. You can use your regular text editor. Here, we add a new entry from the command line using
cat. - Stage and commit the changes to your project text file using
git addandgit commit. - View the contents of your project text file to verify your changes. Here, we use the
catcommand again. - Switch back to the default branch (
mainin this example). Here, we usegit checkout mainbut you can also usegit switch main. - View the contents of your project text file again to confirm that the previous changes do not exist on the
mainbranch. - Merge the changes
featurebranch into themainbranch. - Delete the merged
featurebranch usinggit branch -d feature. - View the contents of your project text file yet again to confirm that the previous changes have been merged into the
mainbranch.
Version Control Course
